
Restore points can be useful when Windows 11 needs to be rolled back after a bad driver, update, or app change. But if System Restore has been enabled for a while, those saved points can start taking up more disk space than you want.
There are a few safe ways to remove old restore points in Windows 11. Some methods delete everything, while others let you keep the newest restore point and just clear out older ones.
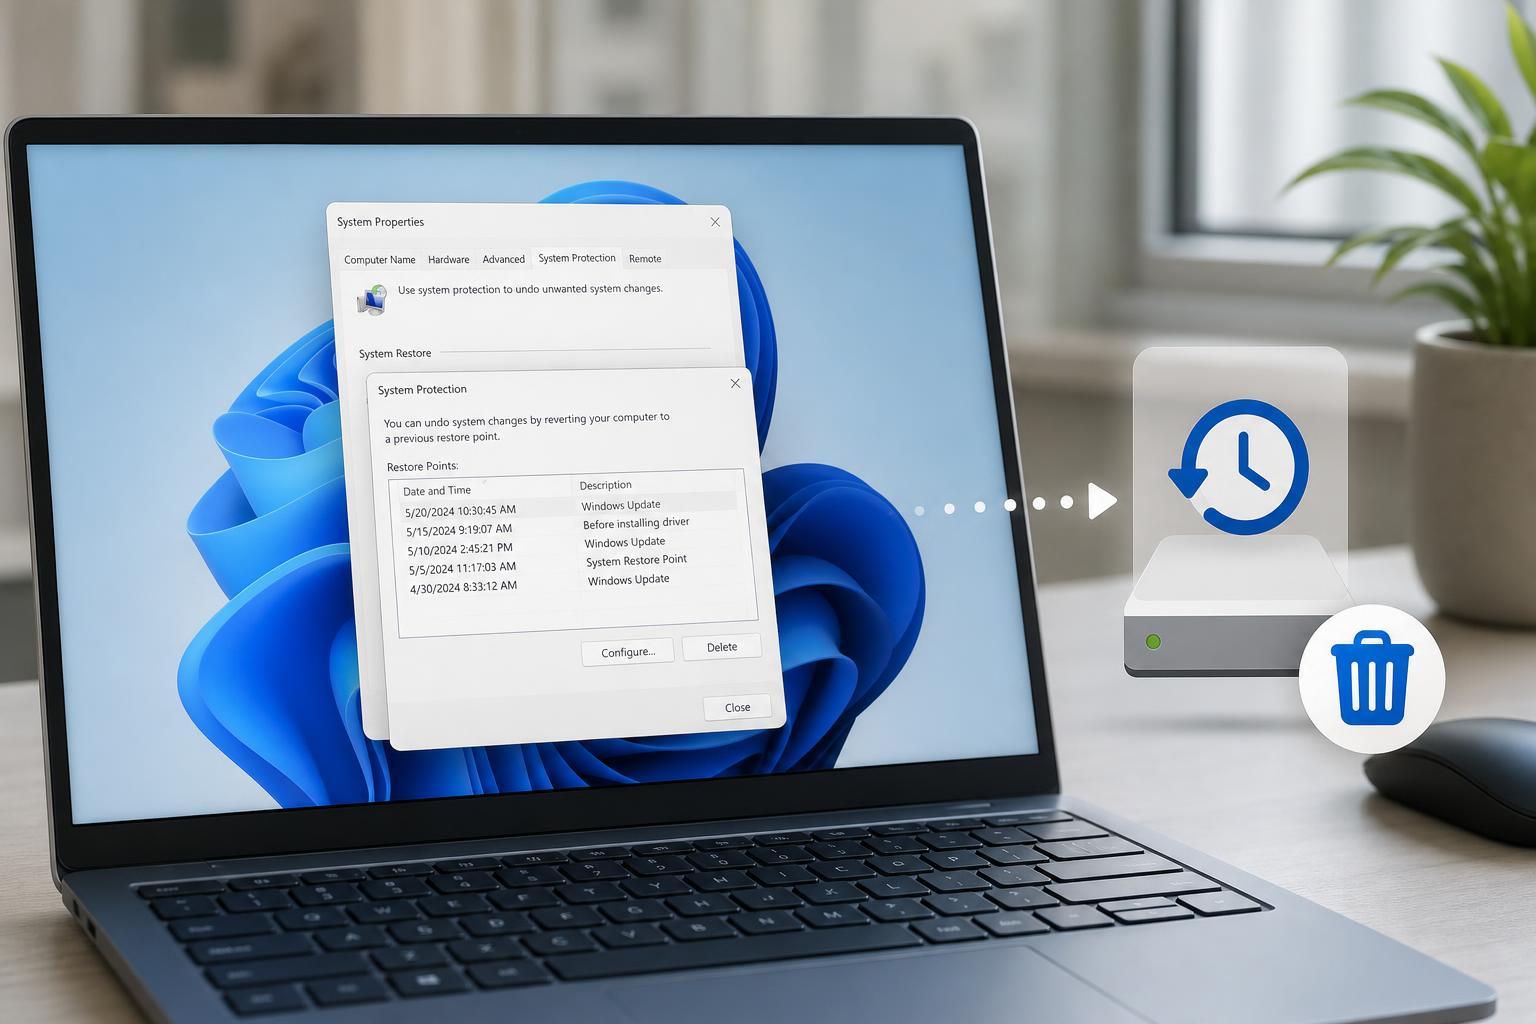
Before You Delete Restore Points
A restore point is a snapshot of important Windows system files, registry settings, and certain installed programs at a specific moment in time. It is not a full backup of your personal files.
If your PC is running low on disk space, removing old restore points can help. Just be careful not to disable System Restore completely unless you understand the tradeoff.
1. Delete All Restore Points from System Protection
This is the most direct method. It removes every restore point currently stored for the selected drive.
- Open the Start menu, type Create a restore point, and open the matching result.
- In the System Properties window, make sure the System Protection tab is selected.
- Under Protection Settings, choose the drive that has protection turned on, usually the system drive.
- Click Configure.
- Select Delete to remove all restore points for that drive.
- Confirm the action, then click OK to close the windows.
2. Use Disk Cleanup to Remove System Restore Data
Disk Cleanup can also remove old restore points and shadow copies. On some systems, it gives you a quicker way to reclaim space without going through the System Protection dialog.
- Press Windows + S and search for Disk Cleanup.
- Open it and choose the Windows drive if prompted.
- Click Clean up system files.
- Select the same drive again if Windows asks.
- Open the More Options tab.
- Under System Restore and Shadow Copies, click Clean up.
- Confirm the deletion when Windows asks.
3. Limit Disk Space So Windows Keeps Fewer Restore Points
If you do not want to delete everything manually, you can reduce the space assigned to System Restore. When Windows runs out of room, it automatically removes older restore points to make space for newer ones.
- Open Create a restore point from the Start menu search.
- In System Properties, open the System Protection tab.
- Select the system drive and click Configure.
- Under Disk Space Usage, move the slider to a lower value.
- Click OK to save the new limit.
This does not instantly delete only the oldest restore points in a visible list, but it will reduce how many Windows keeps over time.
How to Check Whether Restore Points Are Still Enabled
After cleanup, it is a good idea to confirm that System Restore is still turned on for the drive you care about. If it is disabled, Windows will not create new restore points automatically.
- Open Create a restore point.
- Select the system drive in the Protection Settings list.
- Look at the Protection column to see whether it says On or Off.
- If needed, click Configure and choose Turn on system protection.
Which Method Should You Use?
- Use System Protection if you want to remove every restore point immediately.
- Use Disk Cleanup if you are already freeing up space and want to include restore data in the cleanup.
- Use the disk space slider if you want Windows to keep fewer restore points automatically over time.
For most people, the safest balance is to keep System Restore enabled, reduce the storage limit if needed, and only delete everything when space is urgently needed.
What to Do After Deleting Old Restore Points
Once older restore points are gone, Windows will need to create new ones before you have recovery options again. It usually does this automatically before major updates or some software changes, but you can also create one manually if you want a fresh recovery point now.





