
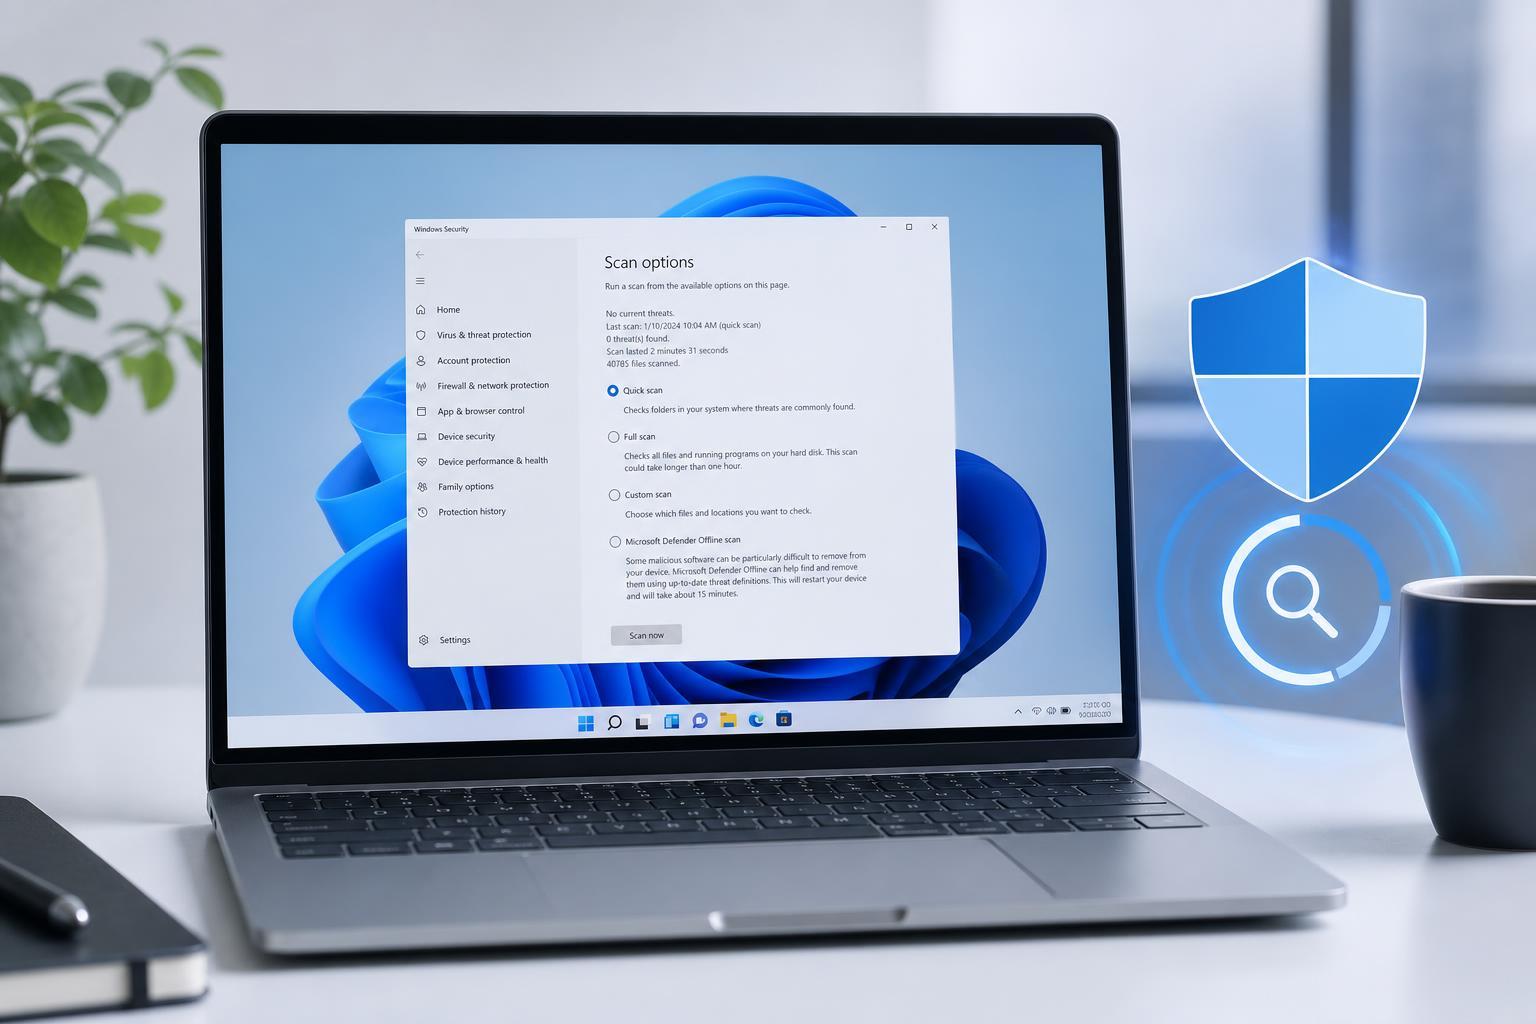
Windows Defender, now called Microsoft Defender Antivirus, can scan your PC automatically—but Windows does not always give you an obvious “schedule scan” button. If you want regular security checks at a specific time, there are two practical ways to set them up.
This guide shows a built-in Task Scheduler method and a simpler alternative for creating recurring Defender scans without relying on guesswork.
What You Need Before You Start
You should be signed in with an administrator account, since Defender scan tasks usually need admin permissions. It also helps to know whether you want a quick scan, a full scan, or a custom scan of certain folders, because the schedule command can be adjusted for different scan types.
Method 1: Schedule a Defender Scan with Task Scheduler
Task Scheduler is the most direct way to create a recurring Defender scan. It lets Windows launch the Defender command-line tool at a time you choose.
- Press Windows + S, type Task Scheduler, and open it.
- In the left pane, expand Task Scheduler Library.
- Open Microsoft, then Windows, then Windows Defender.
- Look for the scheduled Defender scan task and open its properties if it already exists.
- If you want a custom schedule, create a new basic task or new task in the right pane instead of editing the existing one.
- Set the trigger to Daily, Weekly, or another interval that matches how often you want the scan to run.
- Choose the action to start a program, then use the Defender command-line tool to run the scan.
- Save the task, enter administrator credentials if prompted, and test it once manually to confirm it works.
When you create the action, the scan command is usually built around MpCmdRun.exe, which is Defender’s command-line utility. The exact path can vary slightly, but it is commonly found inside the Windows Defender folder under Program Files.
Method 2: Use a Simple Batch File with Task Scheduler
If you do not want to type the full Defender command directly into Task Scheduler, you can place the scan command in a batch file and schedule that file instead. This is often easier to manage if you want to reuse the same scan settings later.
- Open Notepad and create a small batch file that launches the Defender scan command you want to use.
- Save the file with a .bat extension, for example defender_scan.bat.
- Open Task Scheduler and create a new task or basic task.
- Set the trigger to the time and frequency you want.
- For the action, choose Start a program and point it to the batch file.
- Save the task and run it once to make sure the batch file starts the scan correctly.
This method is useful if you want to keep the scheduled task simple while still controlling the scan behavior through the batch file. If you later want to change from a quick scan to a full scan, you can edit the batch file instead of rebuilding the task.
Which Scan Type Should You Schedule?
A quick scan is usually the best option for routine checks because it finishes faster and looks at the most common places malware hides. A full scan is better if you are troubleshooting a possible infection, after installing suspicious software, or when you want a deeper check of the entire system.
- Quick scan: best for regular, low-impact maintenance
- Full scan: best when you suspect malware or want a deeper check
- Custom scan: useful if you only want to scan specific folders, drives, or downloads
Common Problems If the Scheduled Scan Does Not Run
If the task does not seem to work, the most common causes are a wrong file path, missing administrator rights, a disabled task, or a trigger that is set incorrectly. The task can also fail if Windows security settings or third-party antivirus software are taking over real-time protection.
- Check that the task is enabled
- Confirm the action points to the correct Defender command or batch file
- Make sure the task is set to run with highest privileges if needed
- Verify the trigger time and repetition settings
- Confirm that another antivirus tool is not blocking Defender from running scheduled scans
A Simpler Rule to Remember
If you want the most control, use Task Scheduler directly. If you want a setup that is easier to edit later, use a batch file and schedule that instead. Both methods give you a reliable way to keep Microsoft Defender scanning your PC on a regular basis.





