
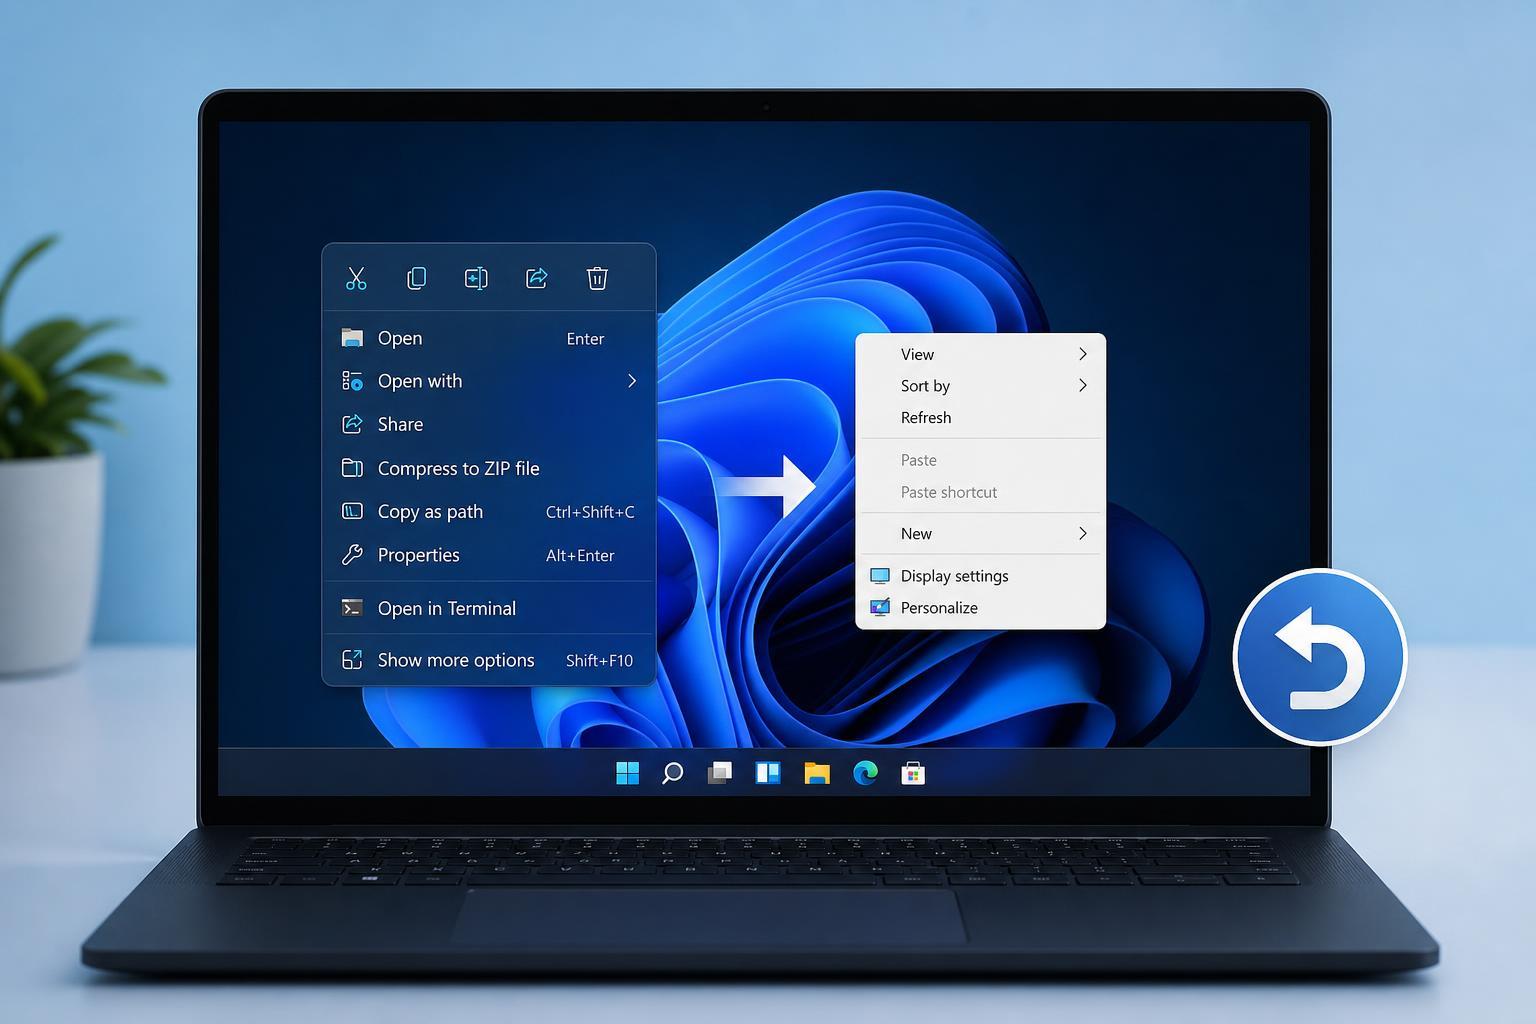
Windows 11 uses a simplified right-click menu by default, but many people still prefer the classic context menu from Windows 10. It shows more commands at once and can be faster if you rely on older utilities, file tools, or desktop shortcuts.
There are a few different ways to get the classic menu back. The best choice depends on whether you want a quick one-time workaround or a more permanent change.
Before You Start
The permanent fix in this article uses the Windows Registry. That is a normal Windows tool, but editing it incorrectly can cause problems.
These steps apply to Windows 11 on standard local and Microsoft accounts. Some managed work PCs may block registry edits through company policy.
The Temporary Fix: Use the Classic Menu Without Changing the Registry
If you only need the old menu once in a while, the fastest workaround is built into Windows 11.
- Right-click the file, folder, desktop item, or drive you want to act on.
- Select Show more options at the bottom of the modern context menu.
- Use the classic menu that appears underneath.
How to Restore the Classic Context Menu Permanently
The common registry method works by telling Windows 11 to use the older menu style instead of the simplified one.
- Press Windows + R to open the Run dialog.
- Type regedit and press Enter.
- If User Account Control appears, click Yes.
- In Registry Editor, navigate to HKEY_CURRENT_USER\Software\Classes\CLSID.
- Right-click CLSID, point to New, and choose Key.
- Name the new key exactly {86ca1aa0-34aa-4e8b-a509-50c905bae2a2}.
- Right-click the new GUID key, point to New, and choose Key again.
- Name the new subkey InprocServer32.
- Select InprocServer32, then double-click the Default value in the right pane.
- Leave the Value data box empty and click OK.
- Close Registry Editor.
- Restart File Explorer or sign out and sign back in to apply the change.
If You Want a Faster Registry Method
If you prefer not to create the keys manually, you can use a .reg file instead. This does the same thing as the steps above, but in one import.
- Open Notepad.
- Paste the registry text you trust into the file.
- Save the file with a .reg extension, such as classic_context_menu.reg.
- Double-click the file and approve the prompt to merge it into the registry.
- Restart File Explorer or sign out and sign back in.
How to Restart File Explorer Without Rebooting
After the registry change, Windows usually needs File Explorer to refresh before the classic menu appears everywhere.
- Press Ctrl + Shift + Esc to open Task Manager.
- Find Windows Explorer in the Processes list.
- Right-click it and choose Restart.
If Explorer does not refresh cleanly, signing out and back in usually applies the change.
What You Should See After It Works
Once the classic menu is active, right-clicking a file or folder should open the fuller Windows 10-style menu immediately, without first showing Show more options.
- More commands visible at once
- Older app actions easier to find
- Reduced need to open an extra submenu
How to Restore the Windows 11 Menu Again
If you want to undo the change later, remove the registry key you created.
- Open Registry Editor again.
- Go to HKEY_CURRENT_USER\Software\Classes\CLSID.
- Delete the key named {86ca1aa0-34aa-4e8b-a509-50c905bae2a2}.
- Restart File Explorer or sign out and back in.
When This Fix Is Most Useful
This change is most helpful if you use the right-click menu many times a day. If you only need one or two legacy commands occasionally, the temporary workaround may be easier.
Common Problems and What They Mean
- The menu still shows Show more options first: File Explorer may need a restart, or the registry value was typed incorrectly.
- The classic menu appears in some places but not others: Windows updates or shell components can affect different right-click targets separately.
- The registry key cannot be created: your account may not have permission, or a work policy may be blocking changes.
If the key name is even slightly wrong, Windows will ignore it. The GUID must match exactly, including brackets and hyphens.
Choosing the Right Option
If you only need the classic menu once, use Show more options or Shift + F10. If you want the old menu every day, the registry method is the practical permanent fix.
Either way, you can switch back later if you decide you prefer the Windows 11 menu.





