Recording phone calls on Android can be useful for interviews, business calls, voicemail-style reminders, or keeping a reference for important conversations. But the exact steps depend on your phone brand, Android version, region, and whether your Phone app supports call recording.
This guide explains how to start a call recording, where to find saved recordings, and how to delete them when you no longer need them.
Before You Start
Not every Android phone can record calls in the same way. Some phones have a built-in recording option in the Phone app, while others require a different dialer app or do not allow call recording at all in certain regions.
- Call recording may be unavailable in your country or on your carrier’s firmware.
- The option may appear only during an active call.
- Some phones announce that the call is being recorded to both participants.
- Saved recordings are usually stored inside the Phone app or in a file manager folder.
How to Record a Call on Android
- Open the Phone app and start or answer a call.
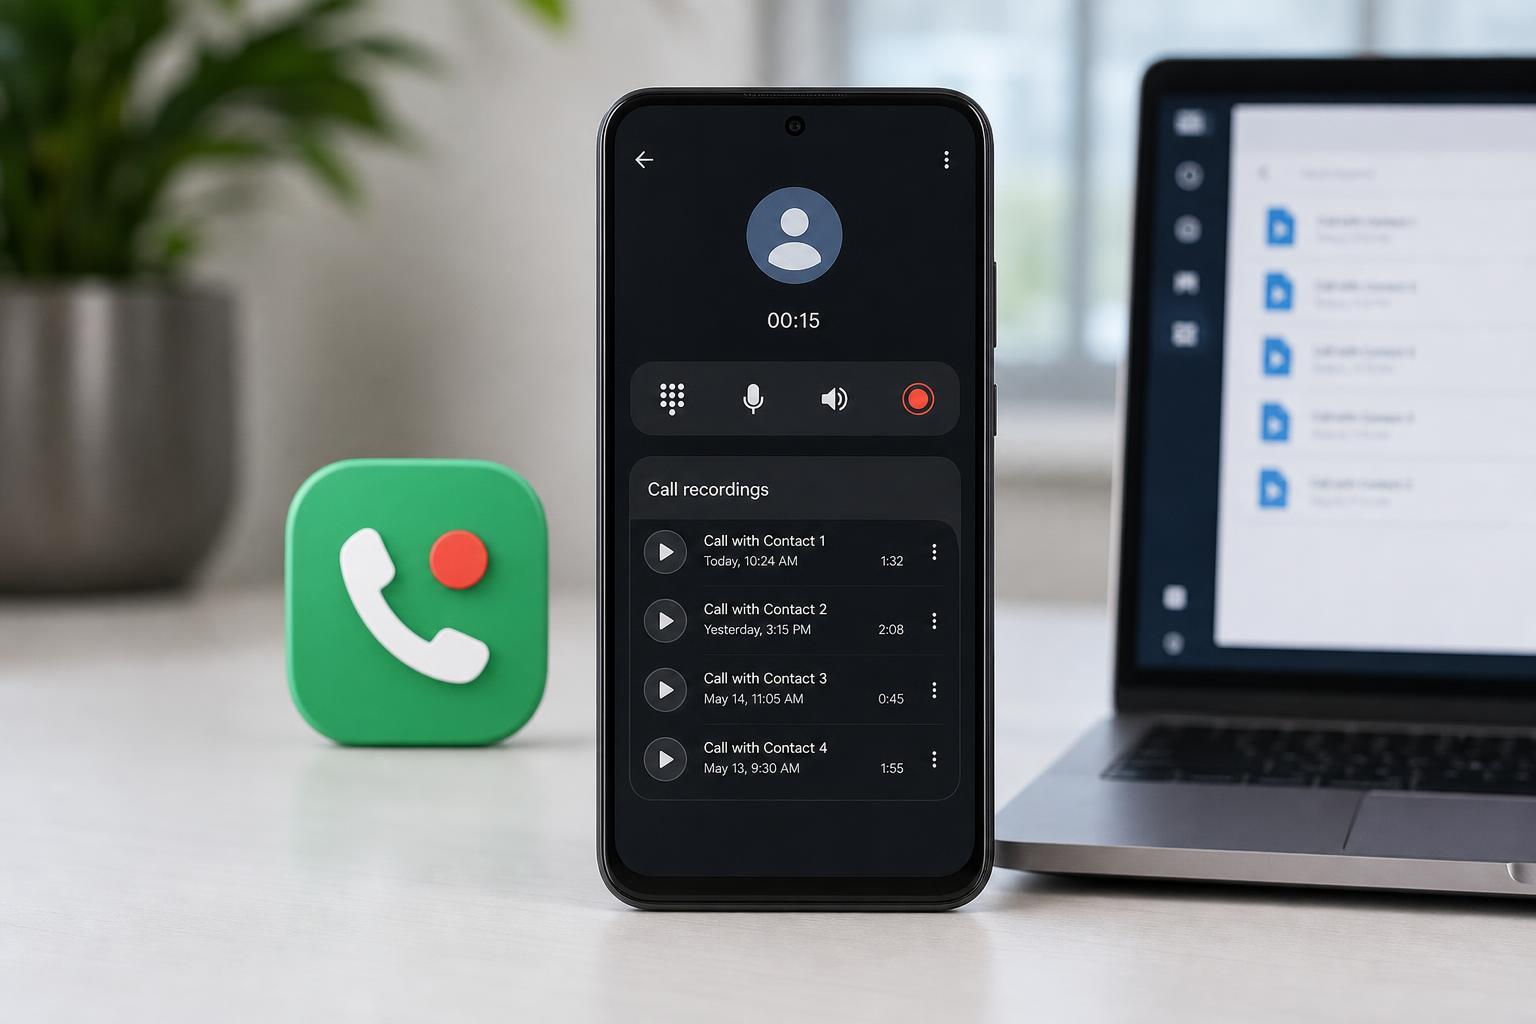
- Look for a Record, Record call, or similar button on the call screen.
- Tap the recording button to begin recording.
- If prompted, confirm that you want to start recording.
- Keep the call active until you are finished. Most phones stop recording automatically when the call ends.
On many phones, the recording button appears only after the call connects. On some models, you may need to tap More options or the three-dot menu to find it.
If Your Phone Supports Automatic Call Recording
Some Android phones let you automatically record certain calls, such as calls from unknown numbers or specific contacts. This is helpful if you frequently need recordings and do not want to start them manually each time.
- Open the Phone app.
- Go to Settings.
- Look for Call recording or Recording settings.
- Choose whether to record all calls, unknown calls, or selected numbers.
- Save the setting and test it with a call if needed.
Where Android Call Recordings Are Saved
Recorded calls are usually stored in one of three places: inside the Phone app’s call history, in the app’s recordings section, or in a folder in your device storage.
- Phone app call history or recent calls list
- Phone app settings or a dedicated Recordings section
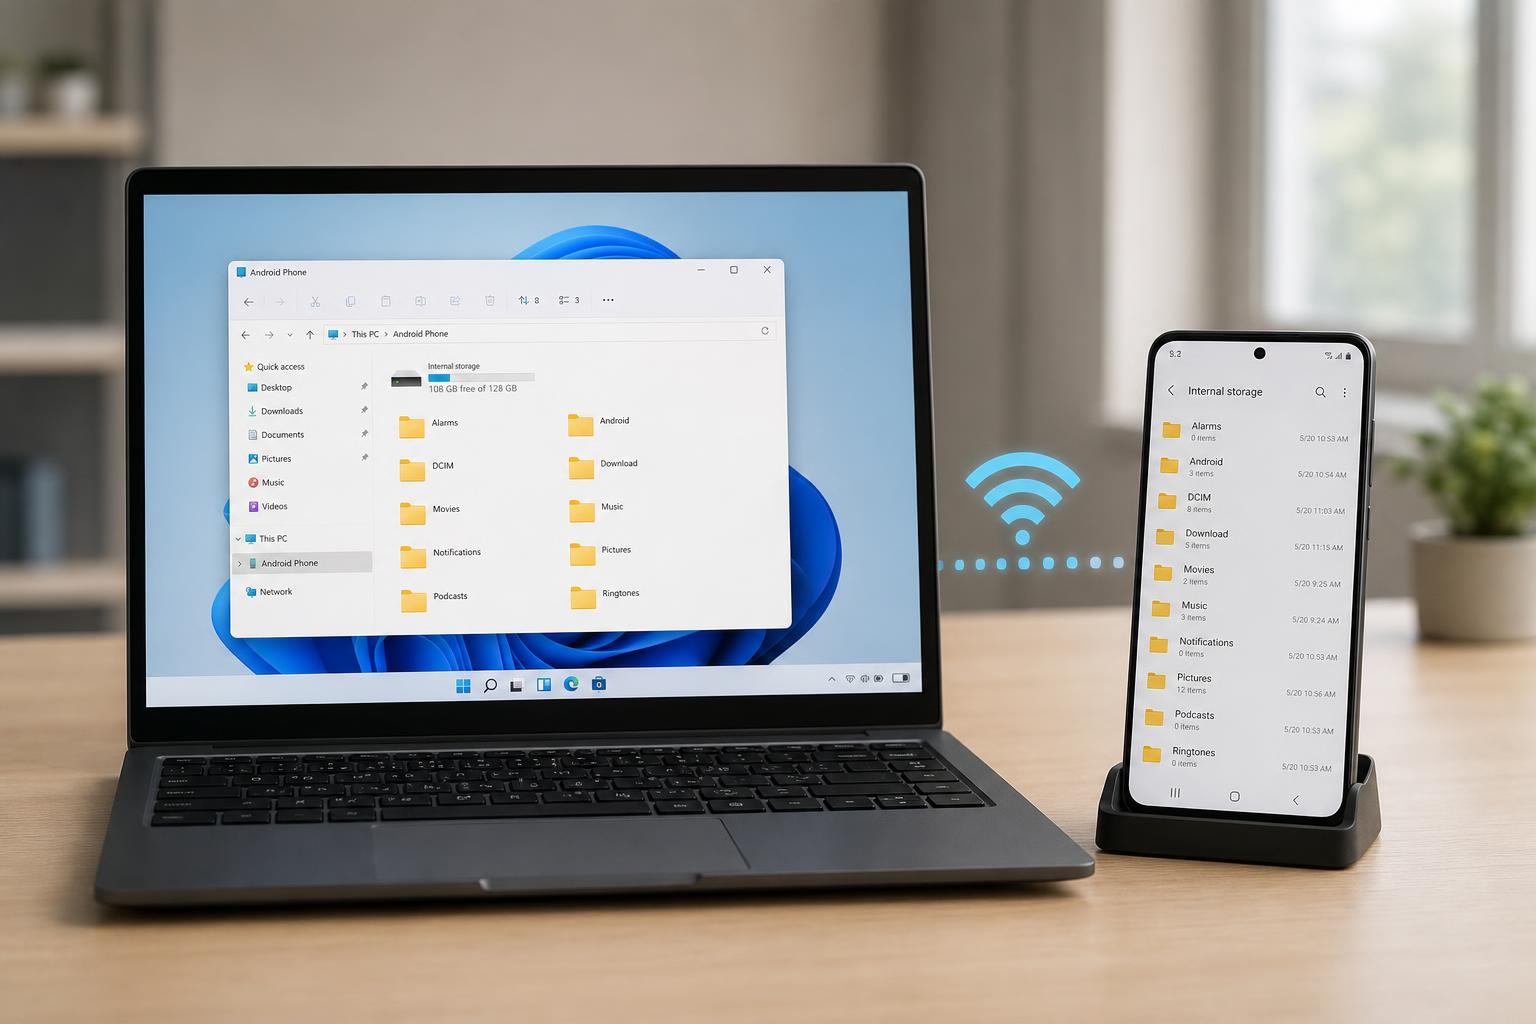
- Files by Google, My Files, or another file manager
- Internal storage folders such as Recordings, CallRecordings, or a vendor-specific folder
If you cannot find them right away, use your file manager’s search feature and look for file names or folders containing the word recording.
How to Delete Call Recordings on Android
- Open the Phone app or the app where the recording is stored.
- Go to the call recording list or recordings folder.
- Press and hold the recording you want to remove.
- Tap Delete or the trash icon.
- Confirm the deletion if prompted.
If the recording is stored in a file manager, you can delete it the same way you would delete any other file. If it is inside the Phone app, deleting it there usually removes it from the app’s list and from storage at the same time.
How to Delete Multiple Recordings at Once
If you have several recordings to clean up, many Phone apps and file managers let you delete more than one file at a time.
- Open the recordings list or folder.
- Tap and hold one recording to enter selection mode.
- Select the other recordings you want to remove.
- Tap Delete.
- Confirm the action.
If You Cannot Find the Recording Option
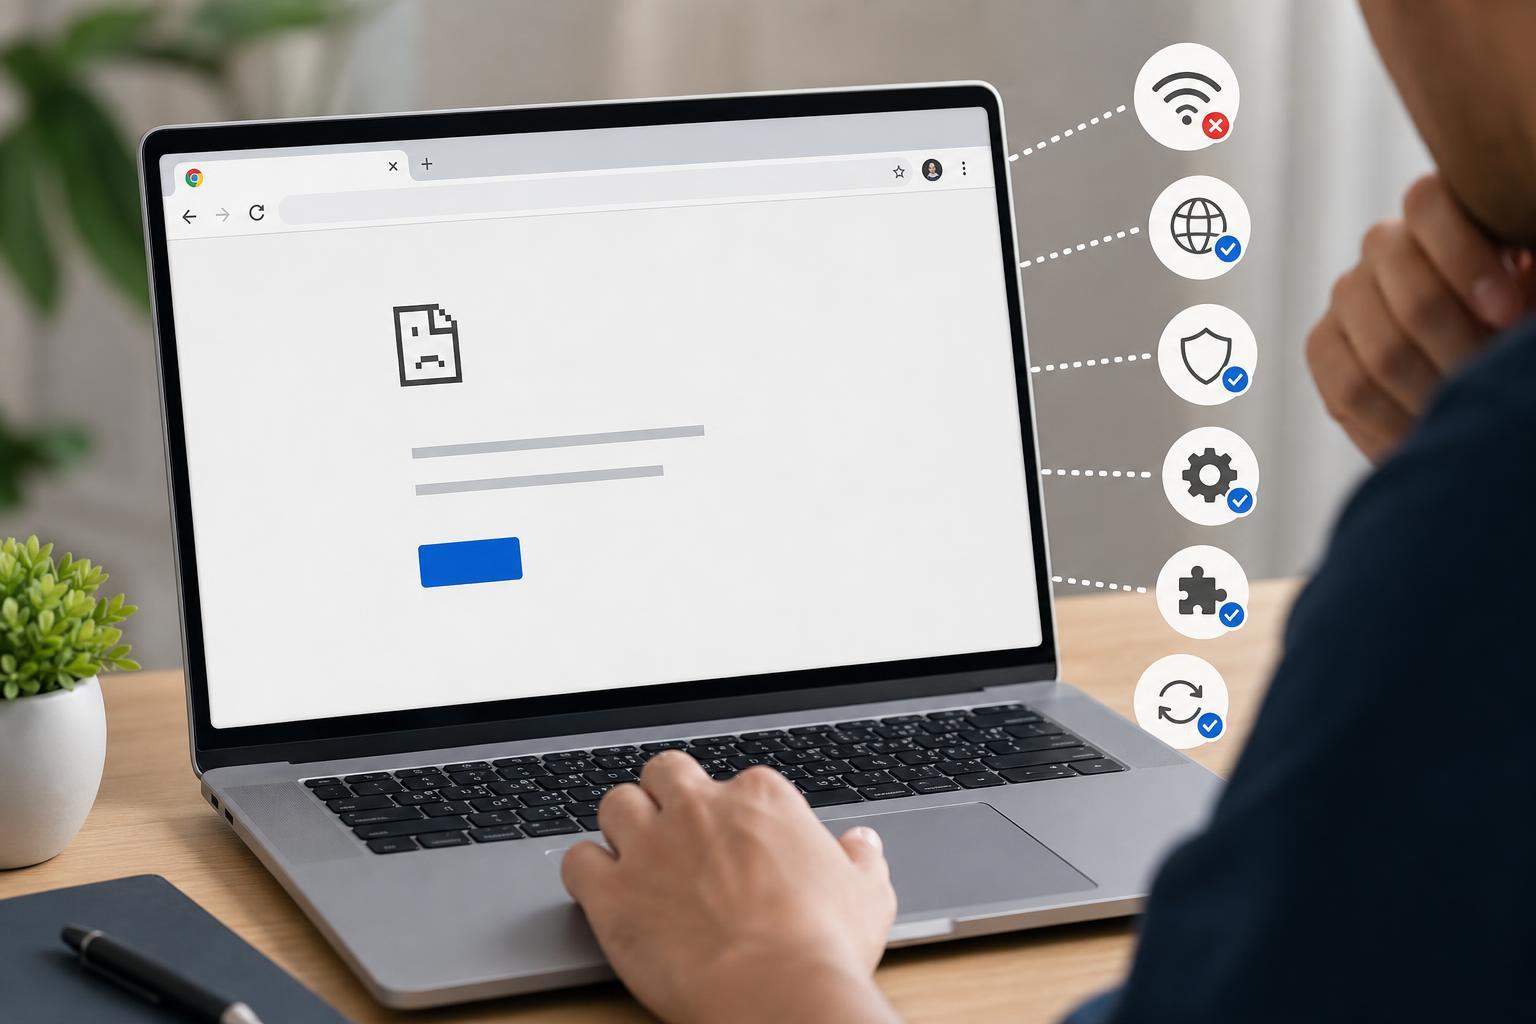
If your Android phone does not show a call recording option, it usually means one of the following: the feature is disabled by your region, your phone brand does not include it, your dialer app does not support it, or your carrier blocks it on that model.
- Check the Phone app settings for call recording options.
- Update the Phone app and Android system if updates are available.
- Look for a different manufacturer dialer if your phone uses one.
- Check whether your country or carrier disables call recording.
- If needed, contact the phone manufacturer for model-specific support.
How to Keep Recordings Organized
If you record calls often, it helps to review and organize recordings regularly so your storage does not fill up and important files are easier to find later.
- Rename important recordings with the date or caller name
- Move useful recordings to a dedicated folder
- Back up files you may need later
- Delete old recordings you no longer need
- Check storage usage occasionally if you record often
What to Do If a Recording Will Not Delete
If a recording keeps reappearing or will not delete, the file may still be in use, the app may not have permission to modify storage, or the file may be managed by a synced backup service.
- Close the Phone app and try deleting the file again.
- Check that the app has storage permissions.
- Delete the file from a file manager instead of the call history list, or vice versa.
- Look for a backup or cloud sync app that may have copied the file.
- Restart the phone only if the file appears stuck and other deletion methods fail.
Quick Summary
- Use the Phone app’s Record button during an active call if your device supports it.
- Check the Phone app settings for automatic recording options.
- Find saved recordings in the Phone app or a file manager.
- Delete recordings from the recordings list or storage folder when you no longer need them.
- Always follow local call recording laws before saving a conversation.