If you like the floating AssistiveTouch button on iPhone, you can get a very similar feature on Android. The exact name and appearance may differ by phone brand, but the idea is the same: a small on-screen button that gives you quick access to common actions without using physical buttons or swiping through menus.
This guide shows the easiest ways to add an iPhone-style Assistive Touch button on Android, how to customize it, and what to do if it does not appear or keep disappearing.
What Android’s Version of AssistiveTouch Usually Looks Like
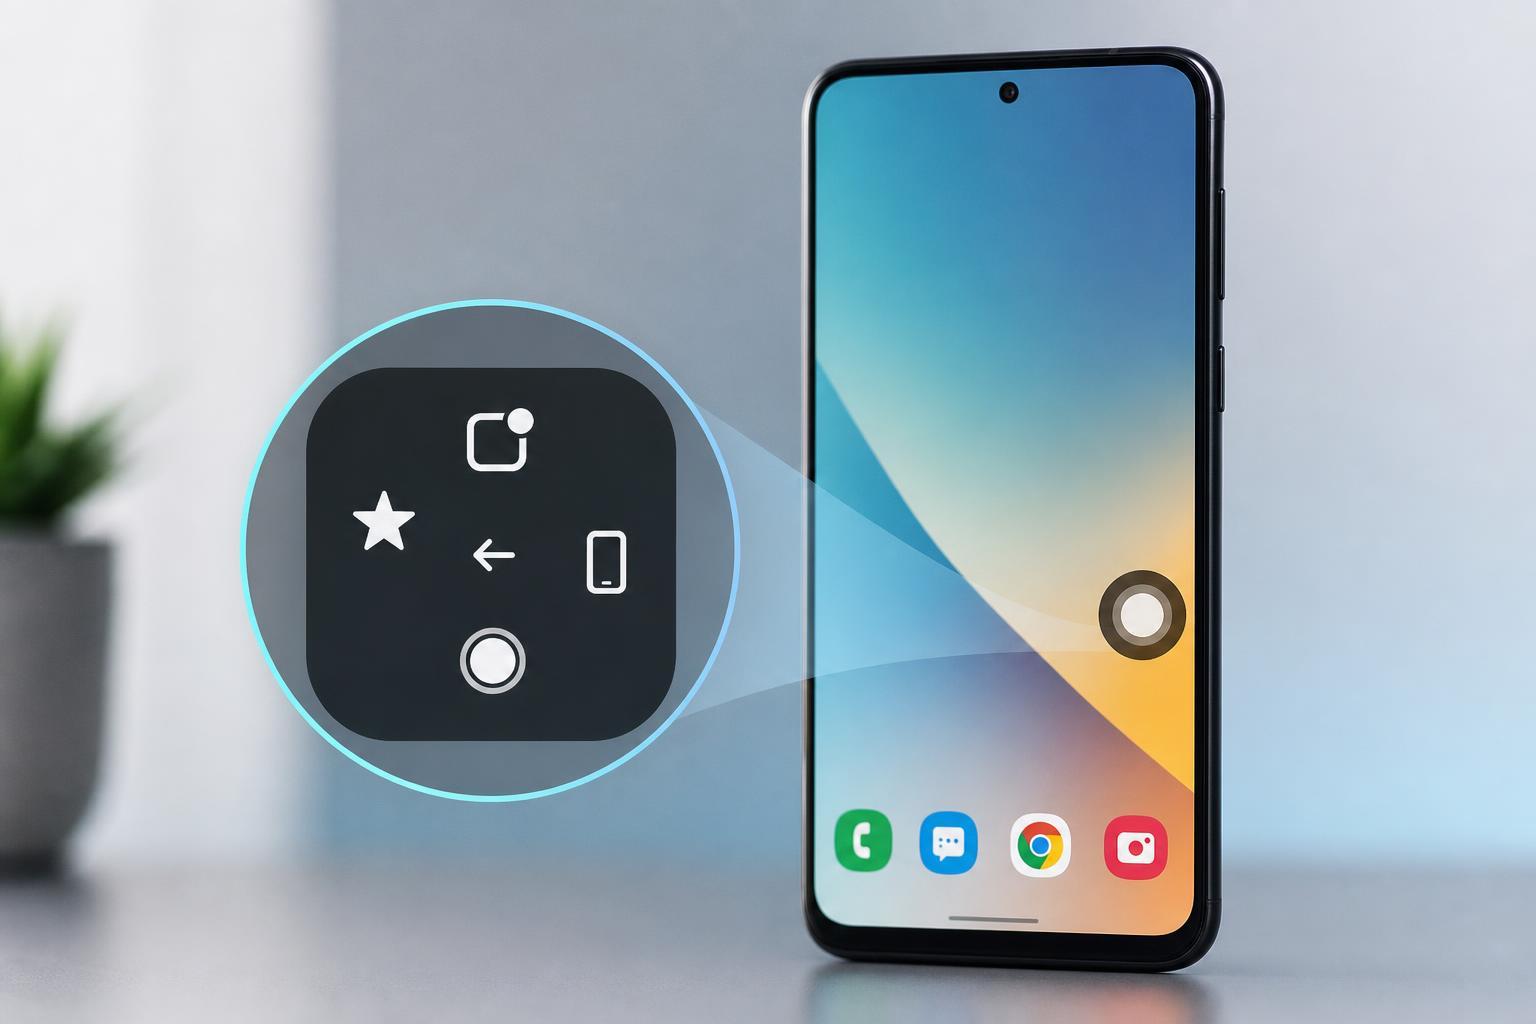
Android phones do not usually call it AssistiveTouch, but many devices offer a floating accessibility button, assistant menu, quick ball, smart sidebar, or accessibility menu. These features are meant to help with navigation, screen control, and shortcuts to common actions.
Use the Built-In Accessibility Menu
If your phone supports it, the built-in Accessibility Menu is the closest Android equivalent to AssistiveTouch. It adds a floating button that can open power options, volume controls, screenshots, recent apps, and other shortcuts.
- Open Settings on your Android phone.
- Tap Accessibility. If you do not see it right away, use the search bar in Settings and search for Accessibility.
- Look for Accessibility Menu, Accessibility Button, or a similar option.
- Turn the feature on.
- Follow the on-screen instructions to grant any required permissions.
Once enabled, a floating button should appear on the screen. You can tap it to open a menu of actions, and on some phones you can move it around the screen so it stays out of the way.
Check Your Phone Brand’s Built-In Feature
Some Android manufacturers include their own Assistive Touch-like tools with extra customization. These often work better than third-party apps because they are designed for the phone’s interface.
- Samsung: look for Assistant menu in Accessibility settings
- Xiaomi and some other brands: look for Quick ball, Floating ball, or similar tools
- OPPO, vivo, and related brands: look for Smart sidebar or accessibility shortcuts
- Huawei: look for Accessibility features or floating dock options
- OnePlus and others: check Accessibility or Special features in Settings
If you find one of these features, enable it and open its settings to customize the shortcuts. Common options include Home, Back, Recent apps, Screenshot, Screen lock, Volume controls, and notifications.
Use a Third-Party Assistive Touch App
If your phone does not have a built-in floating menu, you can install a third-party app from the Google Play Store. These apps can create a floating Assistive Touch-style button with customizable actions.
- Open the Google Play Store and search for terms like Assistive Touch, floating button, or assistive menu.
- Choose an app with a clear permission policy and good recent reviews.
- Install the app and open it.
- Grant the permissions it requests, such as display over other apps or accessibility access.
- Customize the floating button, menu style, size, and shortcuts.
Third-party apps can be useful if you want a more iPhone-like look or more control over the menu. The downside is that some apps may show ads, drain more battery, or stop working properly after system updates.
Customize the Floating Button
After enabling the feature, spend a few minutes adjusting it so it feels comfortable to use. Most built-in and third-party options let you change the size, opacity, and the actions shown in the menu.
- Resize the button so it is easy to tap but not distracting
- Move it to a screen edge that does not block your favorite apps
- Set shortcuts for Home, Back, Recent apps, and Screenshot first
- Add power options if you often use the button instead of physical keys
- Turn down opacity if the button is too visible during videos or games
If the Floating Button Does Not Show Up
Sometimes the feature is turned on but not visible because of permissions, battery optimization, or a setting that hides overlays on top of other apps.
- Open the app or Accessibility settings again and confirm the feature is enabled.
- Check whether overlay permission or display over other apps permission is allowed.
- Look for battery optimization settings and exclude the app if Android is restricting it.
- Make sure the button is not hidden behind a gesture panel or edge handle.
- Restart the app only if the feature has a built-in refresh option or the phone asks for it after permission changes.
Which Option Should You Choose?
The best choice depends on what you want from the feature. Built-in options are usually the simplest and most reliable, while third-party apps can offer a more iPhone-like look and more customization.
- Choose the built-in menu if you want stability and fewer extra permissions
- Choose your phone maker’s version if you want the best integration with your device
- Choose a third-party app if your phone has no built-in floating shortcut and you want a custom design
A Better Android Alternative for Many Users
If your goal is just quicker access to Android controls, you may not need an exact AssistiveTouch clone. A floating button, accessibility menu, edge panel, or gesture shortcut can often do the same job with less clutter.
For most people, the most practical setup is the one that gives fast access to Home, Back, Recent apps, Screenshot, and volume controls without getting in the way of normal use.