The OnePlus 9 and OnePlus 9 Pro both have capable camera systems, but you will get better results if you know how to use the camera app properly. Small changes like choosing the right mode, holding the phone steady, and adjusting exposure can make a noticeable difference in photo quality.
These tips focus on the built-in OnePlus camera app and the settings that matter most in real-world use. Whether you mainly take portraits, landscapes, night shots, or quick everyday photos, these tricks can help you get more consistent results.
1. Use the right lens for the shot
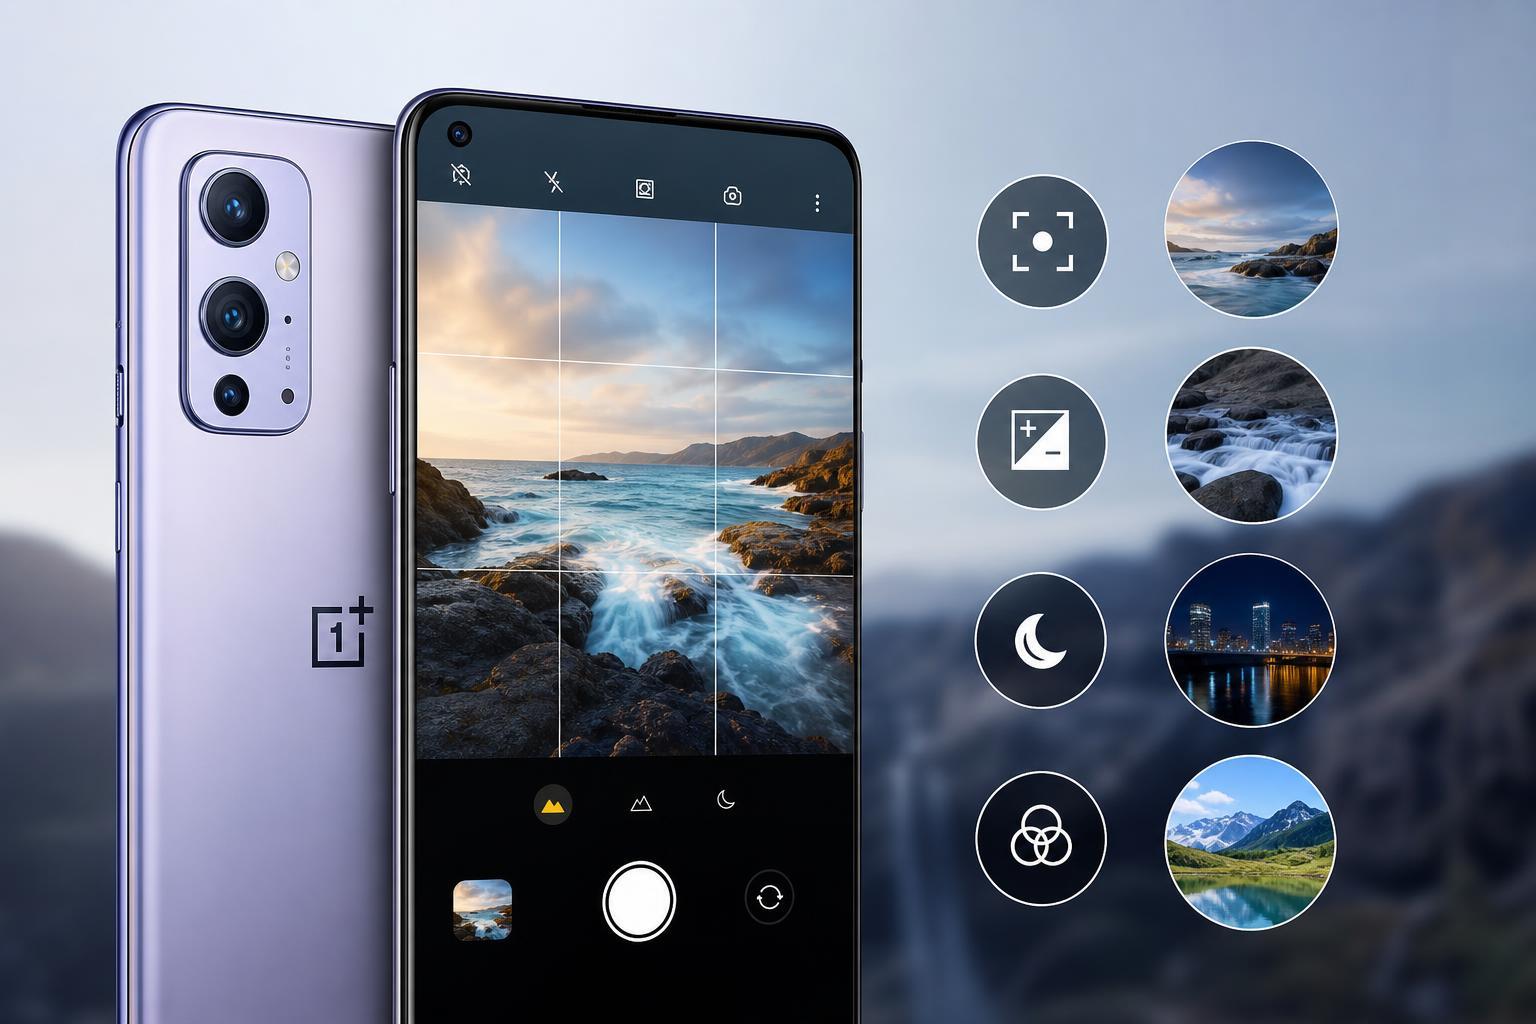
The OnePlus 9 and OnePlus 9 Pro give you multiple camera lenses, and each one works best in a different situation. Using the correct lens is one of the easiest ways to improve photo quality because it lets the phone capture the scene the way it was designed to.
- Use the main camera for most photos, especially in normal daylight and indoors.
- Use the ultrawide lens when you want to fit more into the frame, such as architecture, travel scenes, or group shots.
- Use the telephoto lens on the OnePlus 9 Pro for closer framing without moving toward the subject.
- Avoid using digital zoom too often, since it usually lowers detail and sharpness compared with switching lenses or moving closer.
2. Tap to focus and adjust exposure before you shoot
The camera app does not always guess the scene the way you want it to. Tapping on your subject tells the phone what should stay sharp and also gives you control over brightness.
- Open the camera app and frame your shot.
- Tap the subject you want in focus, such as a face, pet, or object.
- If the image looks too bright or too dark, drag the exposure slider up or down.
- Take the photo once the focus and brightness look right.
3. Turn on the grid to improve composition
A grid helps you line up photos more cleanly and make better framing decisions. It is especially useful for landscapes, buildings, product shots, and shots where you want the horizon to stay level.
- Open the camera app.
- Go to the settings menu.
- Turn on the composition grid or rule-of-thirds grid if available.
- Use the lines to keep horizons straight and place your subject more intentionally.
The rule of thirds can make photos look more balanced, but you do not need to follow it every time. It is mainly a guide that helps you avoid centered, flat-looking compositions when a more dynamic frame would work better.
4. Use Night mode for low-light scenes, but keep the phone steady
Night mode can dramatically improve photos taken in dim rooms, outdoors at night, or in areas with mixed lighting. It works by capturing multiple frames and combining them into a brighter, cleaner image.
- Use Night mode when the scene is too dark for a normal photo.
- Hold the phone as still as possible until the capture finishes.
- Lean against a wall or rest your elbows if you do not have a tripod.
- Avoid moving subjects when possible, because Night mode works best with relatively static scenes.
5. Try Pro mode when you want more control
Pro mode is useful when the automatic camera settings are not giving you the look you want. It lets you adjust settings such as ISO, shutter speed, white balance, and focus, which can be helpful for creative shots or difficult lighting.
- Lower ISO when you want cleaner images with less noise.
- Raise shutter speed if you are photographing movement and want to reduce blur.
- Use a slower shutter speed for light trails or night scenes with a tripod.
- Adjust white balance if indoor lighting makes the scene look too warm or too cool.
- Use manual focus for close-up subjects or when autofocus keeps missing the target.
6. Use portrait mode carefully for cleaner subject separation
Portrait mode can create attractive background blur, but it works best when the subject is clearly separated from the background. Faces, people, and some objects usually work better than crowded or messy scenes.
- Keep some distance between the subject and the background for a stronger blur effect.
- Make sure the subject is well lit, especially around the face.
- Check the edges of hair, glasses, and shoulders for cutout errors.
- If the blur looks unnatural, step back and take the photo in normal photo mode instead.
7. Clean up your camera settings and use the photo resolution you actually need
A few camera settings can affect how convenient and consistent the OnePlus 9 and OnePlus 9 Pro feel in daily use. It helps to check your default options so the camera behaves the way you expect.
- Open the camera settings and review the default photo and video options.
- Choose a resolution or aspect ratio that matches how you usually share photos.
- Keep the camera app updated through system updates, since software changes can improve image processing.
- Clear away old settings or modes you no longer use so the camera interface stays simple.
- Review HDR-related options if you notice overly processed highlights or shadows.
Higher resolution is not always better for everyday shots. A lower or standard setting may be faster, easier to manage, and still look excellent on phones and social media, while larger files from maximum resolution can use more storage.
Getting the best results from the OnePlus 9 camera app
The OnePlus 9 and OnePlus 9 Pro can take very good photos, but the best results usually come from matching the camera mode to the scene. The main camera is the safest default, Night mode helps in low light, Pro mode helps when the automatic settings struggle, and the grid plus exposure controls help you compose better shots.
If you only change one habit, start by tapping to focus and adjusting exposure before you take the photo. That one small step solves a lot of common problems and often makes the biggest difference in everyday pictures.