You can add a Google account to Android without letting the phone constantly sync contacts, calendar, Gmail, Drive, and other data. This is useful if you only need the account for the Play Store, a work profile, app setup, or occasional sign-in access.
The exact options you see can vary by phone manufacturer and Android version, but the general idea is the same: add the account first, then disable syncing for the items you do not want updated automatically.
1. Add the Account From Android Settings and Turn Sync Off
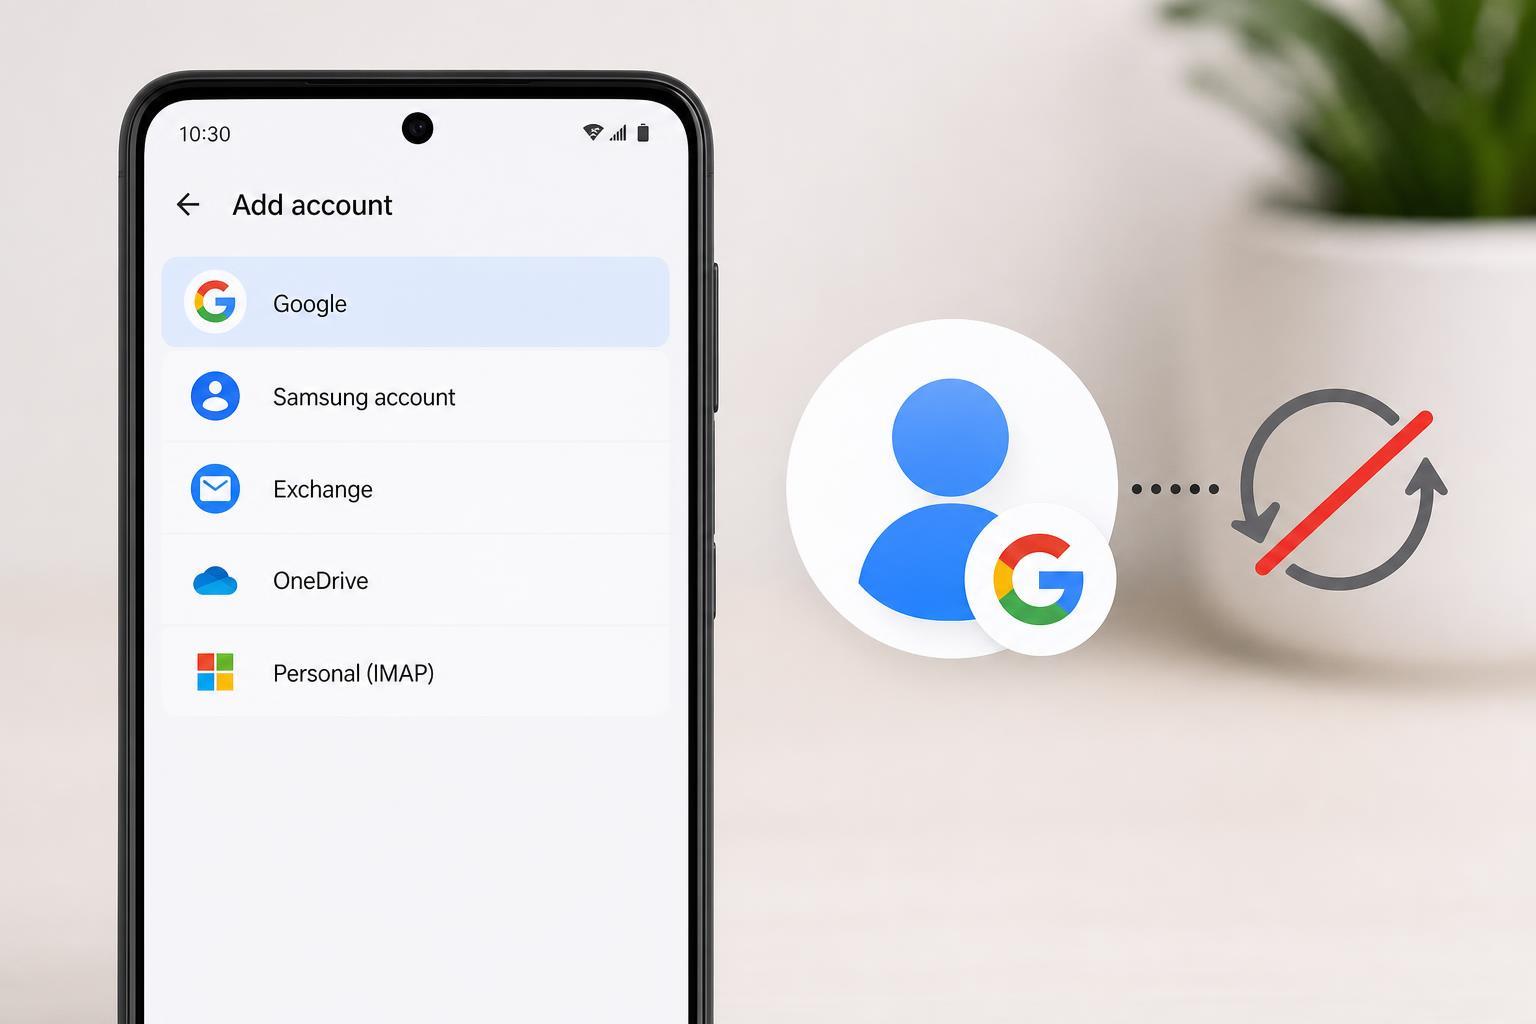
This is the simplest method on most Android phones. You add the Google account normally, then immediately disable automatic sync for that account.
- Open Settings.
- Tap Passwords & accounts, Accounts, Users & accounts, or a similar menu name.
- Tap Add account.
- Choose Google and sign in.
- After the account is added, open the Google account entry.
- Turn off Sync account or disable individual sync items such as Contacts, Calendar, Drive, Gmail, and Keep.
2. Use the Play Store Only, Then Restrict Sync Later
If your main goal is to download apps or make purchases, you can sign into Google through the Play Store and then limit syncing afterward. On many phones, the Play Store sign-in adds the same Google account to the device, but it does not force every data category to stay synced.
- Open the Google Play Store.
- Tap your profile icon.
- Sign in with the Google account you want to use.
- Open Android Settings and check the account’s sync options.
- Disable any sync categories you do not need.
3. Add the Account for Gmail but Leave Auto-Sync Disabled
You can sign in to Gmail on Android without letting the rest of the phone continuously sync. This is useful if you want to check mail occasionally but do not want calendar or contacts to update automatically.
- Open the Gmail app.
- Tap your profile icon and choose Add another account if needed.
- Sign in with the Google account.
- Open Settings on the phone.
- Find Accounts or Google account settings and disable Auto-sync data or turn off individual sync categories.
4. Add the Account Through a Work Profile or Device Management Setup
On devices managed by an employer or school, the account may be added as part of a work profile or device management flow. In these setups, sync behavior is often controlled separately from your personal account.
- Install the required management app or profile setup if your organization provides one.
- Sign in with the Google account when prompted.
- Complete the profile or device enrollment.
- Open the profile or account settings and review the sync rules set by the organization.
- Disable any personal sync permissions that you do not want active, if the policy allows it.
5. Add the Account Temporarily, Then Remove Individual Data Access
Sometimes the easiest approach is to add the Google account, use it for the one task you need, and then reduce what the phone can access. This works well when you want to avoid long-term syncing on a device you only use occasionally.
- Add the Google account normally in Settings.
- Use the account for the needed task, such as Play Store access or sign-in verification.
- Go to the account’s sync settings and disable every category you do not want updated.
- If needed, remove saved app permissions or app-specific account access from Google Account settings in a browser.
- Leave the account on the phone only if you still need it there.
What Sync Actually Controls
Disabling sync usually affects data like contacts, calendar events, mail, notes, drive files, and browser data. It does not always stop every Google service from working on the device.
- You may still be able to use the Play Store with the account signed in.
- Some apps may still ask you to choose the account manually.
- Two-factor prompts and security checks may still work.
- Downloaded data already on the phone usually stays there until you remove it.
How to Check Whether Sync Is Really Off
If you want to confirm that the account is not syncing, check both the Android account settings and the app itself.
- Open Settings and go to Accounts or Google account settings.
- Open the account and look for sync toggles.
- Make sure Auto-sync data is off if your phone has that master switch.
- Open Gmail, Calendar, or Contacts and confirm they are not refreshing automatically.
- Wait a while and check whether new items appear without manual refresh.
Common Problems and What They Usually Mean
- The account keeps syncing anyway: auto-sync may still be enabled at the system level.
- Only some data syncs: individual sync categories are still turned on for that account.
- You cannot find the sync menu: the option may be under a different account section on your phone.
- The Play Store works but Gmail does not: the account may be signed in for app access but not fully configured in Gmail.
- Organization-managed device settings keep returning: the work profile or admin policy is enforcing sync rules.
Which Method Should You Use?
For most people, the best option is to add the account normally in Android Settings and then turn off sync for the categories you do not need. That gives you the most control and works on the widest range of devices.
- Use method 1 for the simplest full-device setup.
- Use method 2 if the Play Store is your main goal.
- Use method 3 if you mainly want Gmail without constant background updates.
- Use method 4 on managed work or school devices.
- Use method 5 if the account is only needed for a short time or one task.
If you want, I can also turn this into a step-by-step guide for a specific phone brand, such as Samsung, Pixel, Xiaomi, or OnePlus.