If the noise cancellation on your Samsung Galaxy Buds suddenly seems weak or stops working altogether, the cause is often something simple such as the wrong mode, a poor fit, or outdated firmware. In some cases, the issue comes from the paired phone rather than the earbuds themselves.
This guide walks through five practical fixes that cover the most common reasons Galaxy Buds noise cancellation may not work as expected.
1. Make Sure Noise Cancellation Is Actually Turned On
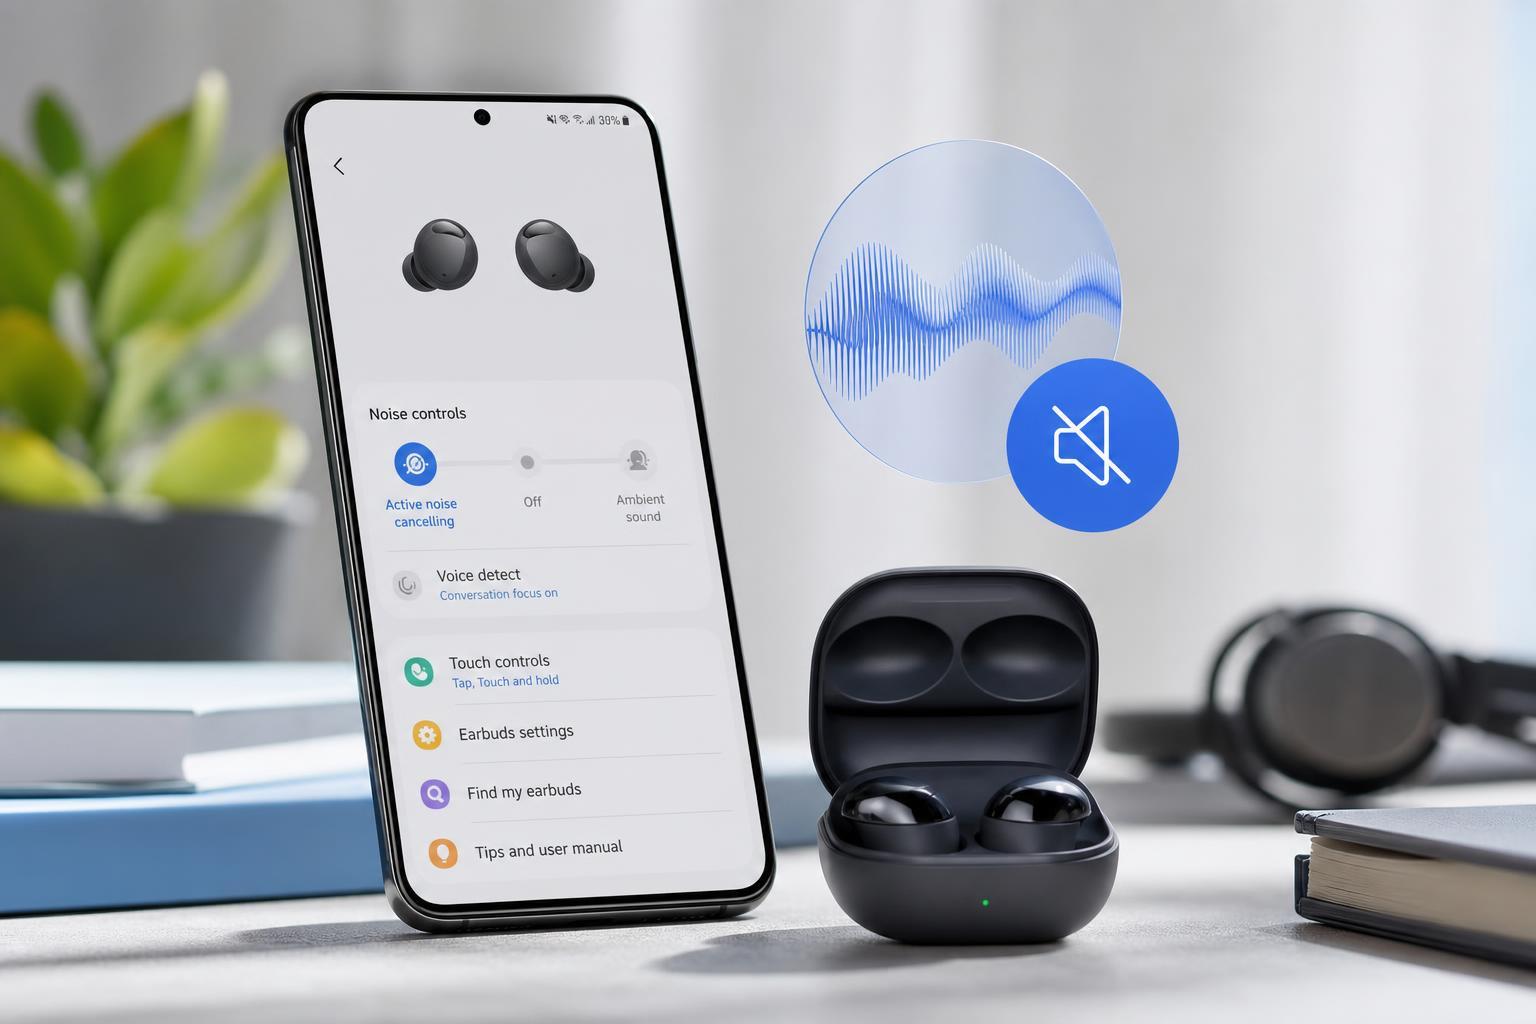
The most common reason Galaxy Buds noise cancellation appears to fail is that it is not enabled. On many Galaxy Buds models, you can switch between Ambient sound and Active noise cancellation directly from the earbuds, the Galaxy Wearable app, or the quick controls on your phone.
- Open the Galaxy Wearable app on your phone.
- Select your Galaxy Buds.
- Check the sound mode and make sure Active noise canceling is selected.
- If needed, switch away from Ambient sound or any custom mode that reduces ANC.
- Test the earbuds again with steady background noise, such as a fan or air conditioner.
2. Check the Ear Tip Fit and Seal
Noise cancellation depends heavily on a good seal. If the earbuds do not fit tightly in your ears, outside noise can leak in and make ANC seem weak or broken. This is especially noticeable with low-frequency sounds like engine noise or air conditioning.
- Remove the earbuds and reinsert them so they sit securely in your ears.
- Try a different size of ear tips if your Galaxy Buds model includes multiple sizes.
- Press the earbuds gently into place and test whether outside noise drops more noticeably.
- Run the earbud fit test in the Galaxy Wearable app if your model supports it.
3. Clean the Earbuds and Sensors
Dust, earwax, and skin oils can interfere with both the speaker openings and any fit or wear-detection sensors your model uses. A clogged sound outlet or dirty microphone opening can reduce ANC performance and make the earbuds sound unbalanced.
- Power off the earbuds and remove them from your ears.
- Use a dry, soft, lint-free cloth to wipe the earbuds.
- Clean the ear tips and mesh areas carefully.
- If needed, use a soft brush to remove debris from the openings.
- Avoid liquid cleaners unless Samsung specifically recommends them for your model.
After cleaning, test ANC again in a noisy environment. Even a small amount of buildup can make a noticeable difference.
4. Update the Galaxy Buds Firmware and the Phone Software
Software bugs can affect how Galaxy Buds process noise cancellation, especially after a phone update or when the earbuds have been used for a long time without an update. Keeping both the earbuds and the phone updated can fix compatibility problems and audio glitches.
- Open the Galaxy Wearable app.
- Check whether a firmware update is available for your Buds.
- Install the update and keep the earbuds in the charging case if the app requires it.
- Update your phone's system software as well.
- Reconnect the earbuds and test ANC again after the update finishes.
5. Reset and Re-pair the Galaxy Buds
If the settings are correct, the fit is good, and the earbuds are updated, a corrupted pairing or configuration issue may be the cause. Resetting the earbuds and pairing them again can clear out stuck settings that prevent noise cancellation from working properly.
- Forget the Galaxy Buds from your phone's Bluetooth settings.
- Open the Galaxy Wearable app and look for the reset option for your Buds model.
- Reset the earbuds using the app or the hardware method supported by your model.
- Place the earbuds back in pairing mode and connect them again.
- Test ANC in a noisy room to confirm the issue is fixed.
When Noise Cancellation May Not Be the Problem
Sometimes the earbuds are working correctly, but the environment makes ANC feel less effective than expected. Noise cancellation is usually best with steady background sounds, not sudden voices, sharp noises, or loud impacts.
- Wind can reduce ANC performance and create a rushing sound.
- Loose-fitting ear tips can make outside noise seem louder.
- High-pitched voices and sudden sounds are harder to block than engine noise.
- Some Galaxy Buds models offer stronger ANC performance than others.
What to Try First
If you want the fastest path to a fix, start with the sound mode and the ear tip fit. Those two causes explain a large share of Galaxy Buds noise cancellation complaints. If that does not help, cleaning the earbuds and installing updates are the next best steps before moving on to a reset.
If none of these fixes helps, the issue may be hardware-related, such as a damaged microphone, worn ear tips, or a fault in the earbuds themselves. In that case, the next step is usually Samsung support or a warranty check.