If your contacts are stored in Outlook, you do not have to type them into your Android phone one by one. There are a few reliable ways to get Outlook contacts onto Android, and the best option depends on whether you want full automatic syncing or just a one-time transfer.
This guide covers three useful methods: syncing through a Microsoft account, using the Outlook app, and exporting contacts manually when you need more control.
Before You Start
Make sure you know where your contacts are stored. Some people keep contacts in Outlook.com, others in a work or school Microsoft 365 account, and some still have contacts saved only in the Outlook desktop app. The steps below work best when your contacts are tied to a Microsoft account that Android can access.
1. Sync Outlook Contacts Through Your Microsoft Account
This is usually the easiest method if you want contacts to stay updated on both Outlook and Android. When you add the same Microsoft account to your phone, Android can sync contacts, calendar data, email, and other account information.
- Open the Settings app on your Android phone.
- Scroll to Accounts, Passwords and accounts, or a similar account section depending on your phone brand.
- Tap Add account.
- Choose Exchange, Microsoft Exchange ActiveSync, or Microsoft account if that option appears.
- Sign in with the same Outlook, Outlook.com, or Microsoft 365 account that contains your contacts.
- When prompted, make sure Contacts sync is enabled.
- Finish the setup and allow the phone a few minutes to complete syncing.
After setup, open the Contacts app on Android and check whether your Outlook entries appear. In many cases, they will show up automatically once the first sync is complete.
2. Use the Outlook App for Android
If you mainly want to view and manage Outlook contacts from your phone, the Outlook app is a simple option. It is especially useful for work or school accounts where the organization wants you to use Microsoft apps instead of the phone’s built-in account sync.
- Install the Microsoft Outlook app from the Google Play Store if it is not already installed.
- Open the app and sign in with your Outlook or Microsoft 365 account.
- Allow the app the permissions it asks for, especially access to contacts.
- Open the app’s contacts or people section to view your Outlook contacts.
- If needed, go into the app and confirm contact syncing is turned on.
Depending on your setup, contacts may appear inside the Outlook app first and then be available to the phone’s Contacts app if Android account permissions allow it. If you only need access to your contacts inside Outlook, this can be enough.
3. Export Contacts from Outlook and Import Them into Android
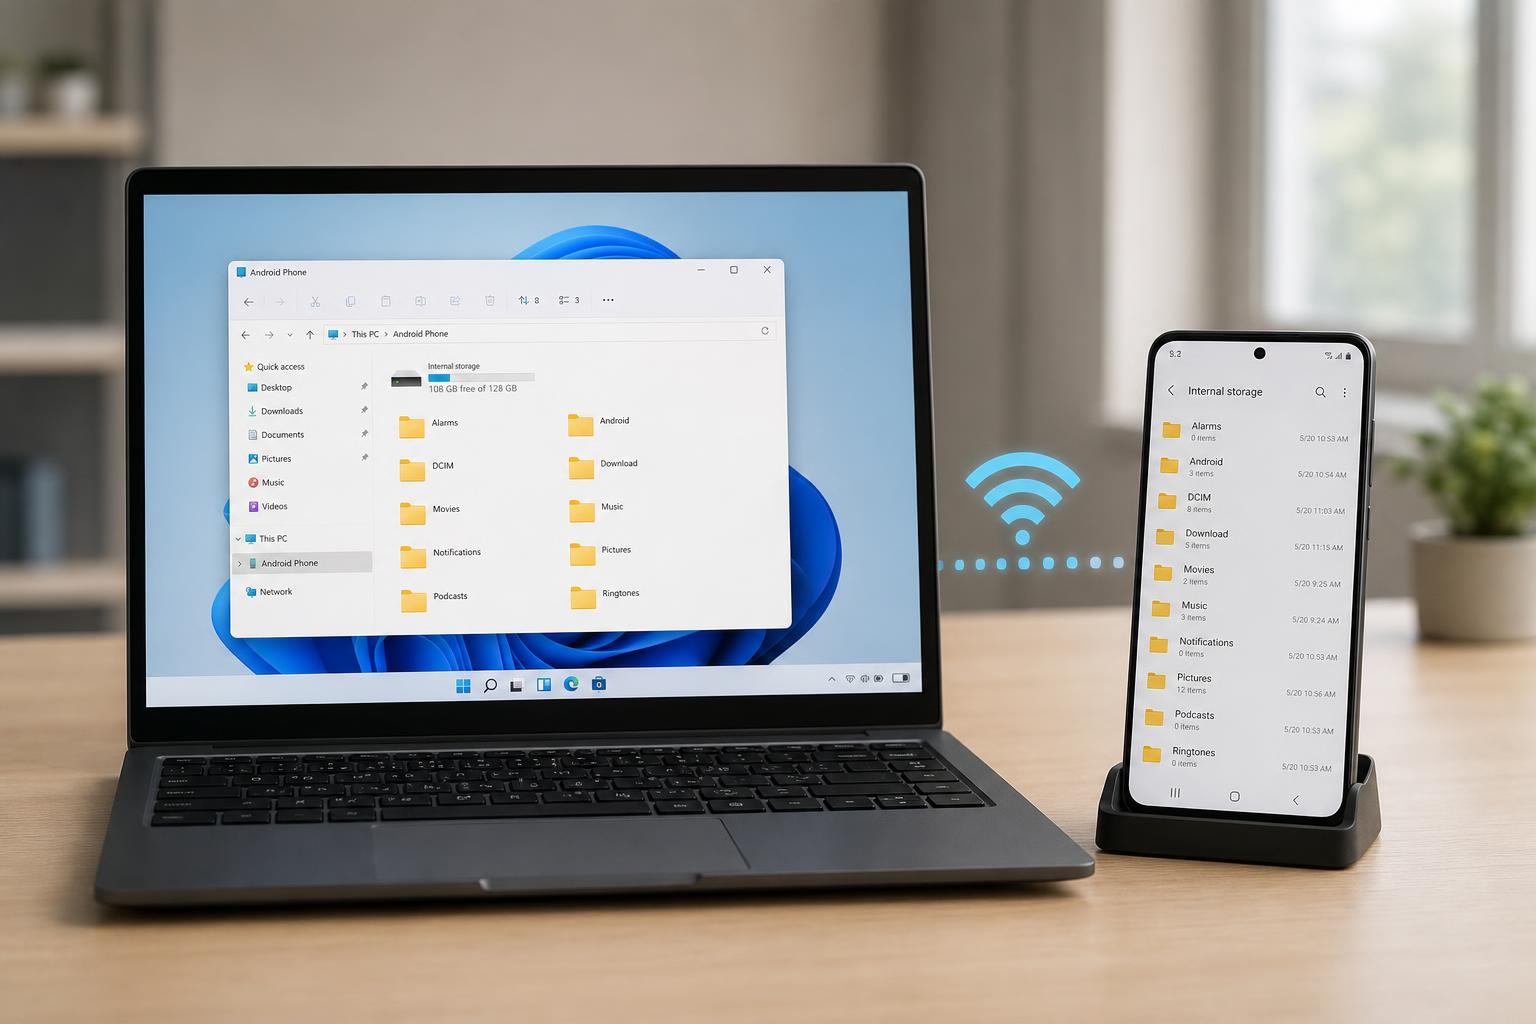
If automatic sync is not available or you only need a one-time transfer, exporting contacts is the most direct fallback. This is useful when your contacts are stored in Outlook on a PC and you want to move them to Android without setting up ongoing account sync.
- Open Outlook on your Windows PC.
- Go to the Contacts or People section.
- Use the export option to save contacts as a CSV file or another supported format.
- Transfer the file to your Android phone, usually through email, Google Drive, or a USB cable.
- Open the Contacts app on Android or Google Contacts and import the file if your phone supports it.
- If Android cannot import the file directly, use Google Contacts in a browser to import the CSV, then sync that Google account to your phone.
This method is less convenient than automatic sync, but it gives you more control and can help when you are moving contacts from an older Outlook setup.
Which Method Should You Choose?
- Choose Microsoft account sync if you want contacts to update automatically on both Outlook and Android.
- Choose the Outlook app if you mainly need to view and use Outlook contacts on your phone.
- Choose export and import if you only need a one-time transfer or your contacts are stored locally on a PC.
If you are unsure, start with account sync. It is the most convenient long-term solution and usually requires the least maintenance once it is set up.
Troubleshooting If Contacts Do Not Appear
- Confirm you signed into the correct Microsoft account.
- Check that contact syncing is enabled for the account on your phone.
- Open the Contacts app and make sure the correct account is selected for viewing.
- Allow some time for the initial sync to complete.
- Check whether the contacts are stored in Outlook.com, Microsoft 365, or only in a local Outlook data file.
- If you used export/import, verify that the file format is supported by your Android contacts app or Google Contacts.
If contacts still do not show up, removing and re-adding the account can sometimes fix a broken sync connection, but only do this if you are sure the contacts are stored safely in Outlook and not only on the device.
A Simple Way to Keep Everything in Sync
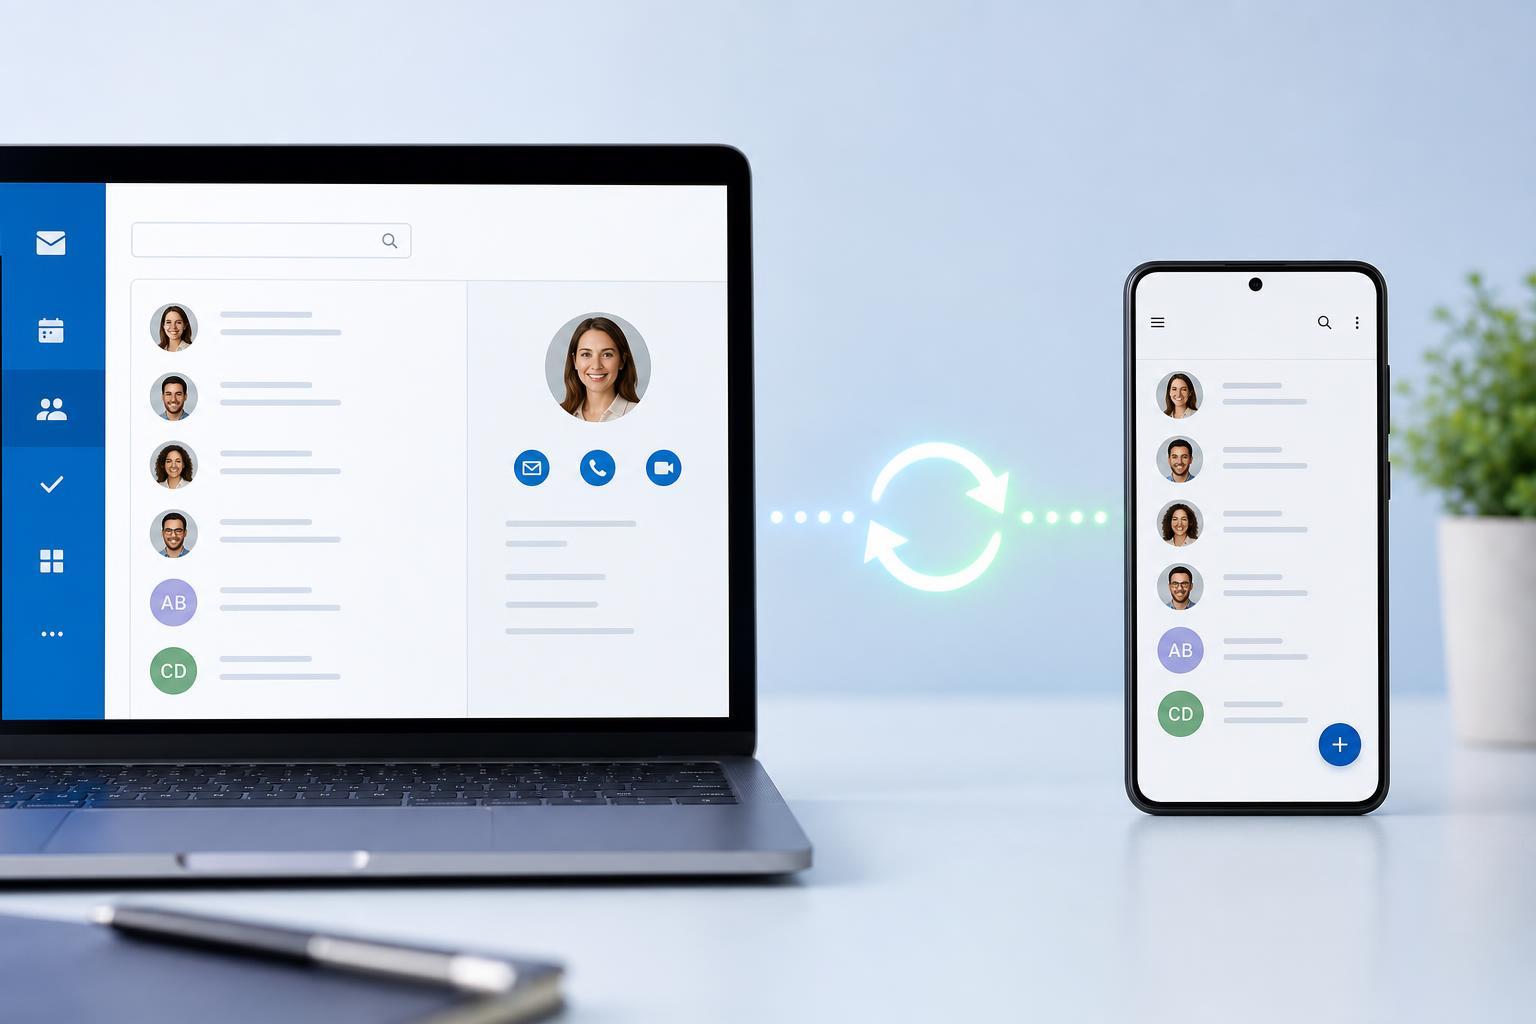
For most people, the best long-term setup is to connect the same Microsoft account to both Outlook and Android. That gives you automatic updates, fewer duplicate contacts, and less manual work later. If that is not possible, the Outlook app or a one-time export can still get your contacts onto your phone quickly.