Uploading photos to Google Drive from an Android phone is a quick way to free up space, create a backup, or share images across devices. Depending on whether you want to send a few specific photos or back up your whole camera roll, there are a few different methods that work best.
This guide covers three practical ways to upload photos to Google Drive on Android, along with when each option makes the most sense.
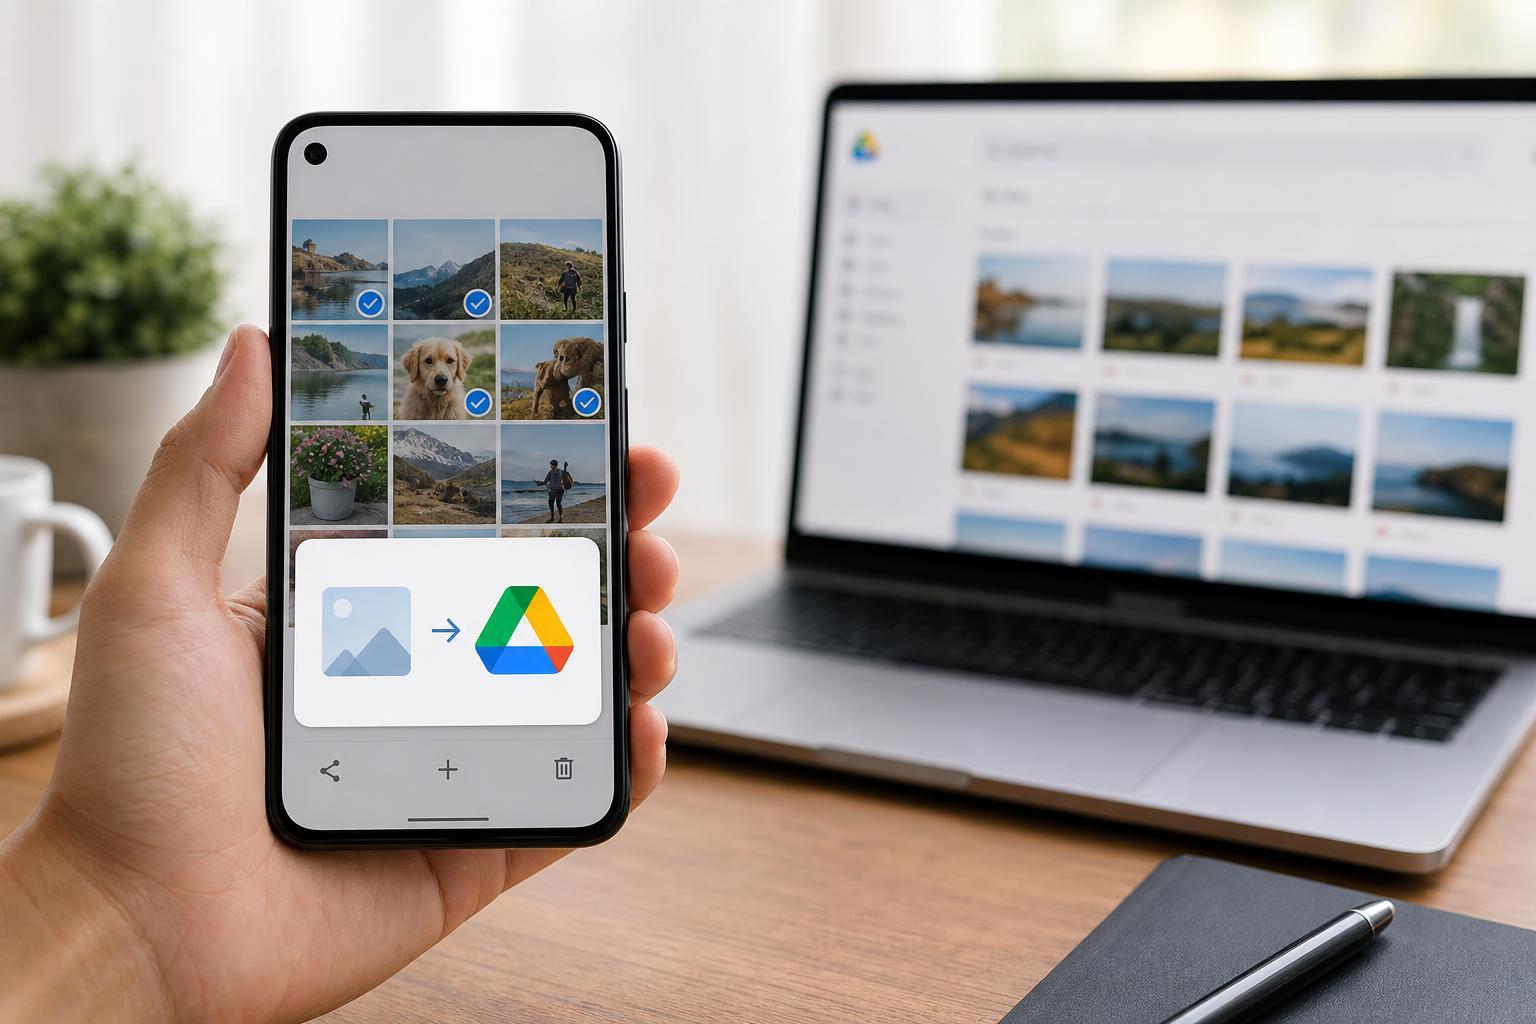
1. Upload Photos Directly in the Google Drive App
The Google Drive app is the simplest option when you want to manually choose individual photos or a small group of images. It gives you direct control over where the files are stored in Drive.
- Open the Google Drive app on your Android phone.
- Tap the plus (+) button, usually in the lower-right corner.
- Select Upload.
- Browse to the photos you want to upload. On many phones, this opens your gallery or file picker.
- Choose one or more photos and confirm the upload.
- Wait for the upload to finish before closing the app if you want to be sure it completed successfully.
2. Use the Share Menu From Your Gallery or Photos App
If the photo is already on your phone, the Share menu is often the fastest way to send it to Drive without opening the Drive app first. This is especially useful for sharing one picture or a few selected images.
- Open your Gallery, Google Photos, Files, or another app where the photo is stored.
- Select the photo or photos you want to upload.
- Tap Share.
- Choose Save to Drive, Upload to Drive, or Google Drive from the share options.
- Pick the destination folder in Drive if prompted.
- Tap Save or Upload to start the transfer.
3. Turn On Automatic Backup in Google Photos
If your goal is to protect every new photo you take, automatic backup is the most convenient option. Google Photos can back up pictures from your Android phone to your Google account automatically.
While this is not the same as manually uploading files into a Drive folder, it is the easiest way to ensure your photos are stored safely in your Google account and available from other devices.
- Open the Google Photos app.
- Tap your profile picture in the top-right corner.
- Select Photos settings.
- Open Backup and make sure it is turned on.
- Choose the Google account you want to use, if needed.
- Decide whether you want backup over Wi-Fi only or using mobile data as well.
Which Method Should You Use?
The best method depends on what you want to do with your photos:
- Use the Google Drive app if you want to place photos into a specific folder in Drive.
- Use the Share menu if you want the quickest manual upload from your gallery or files app.
- Use Google Photos backup if you want ongoing automatic protection for every new picture you take.
Common Problems When Uploading Photos
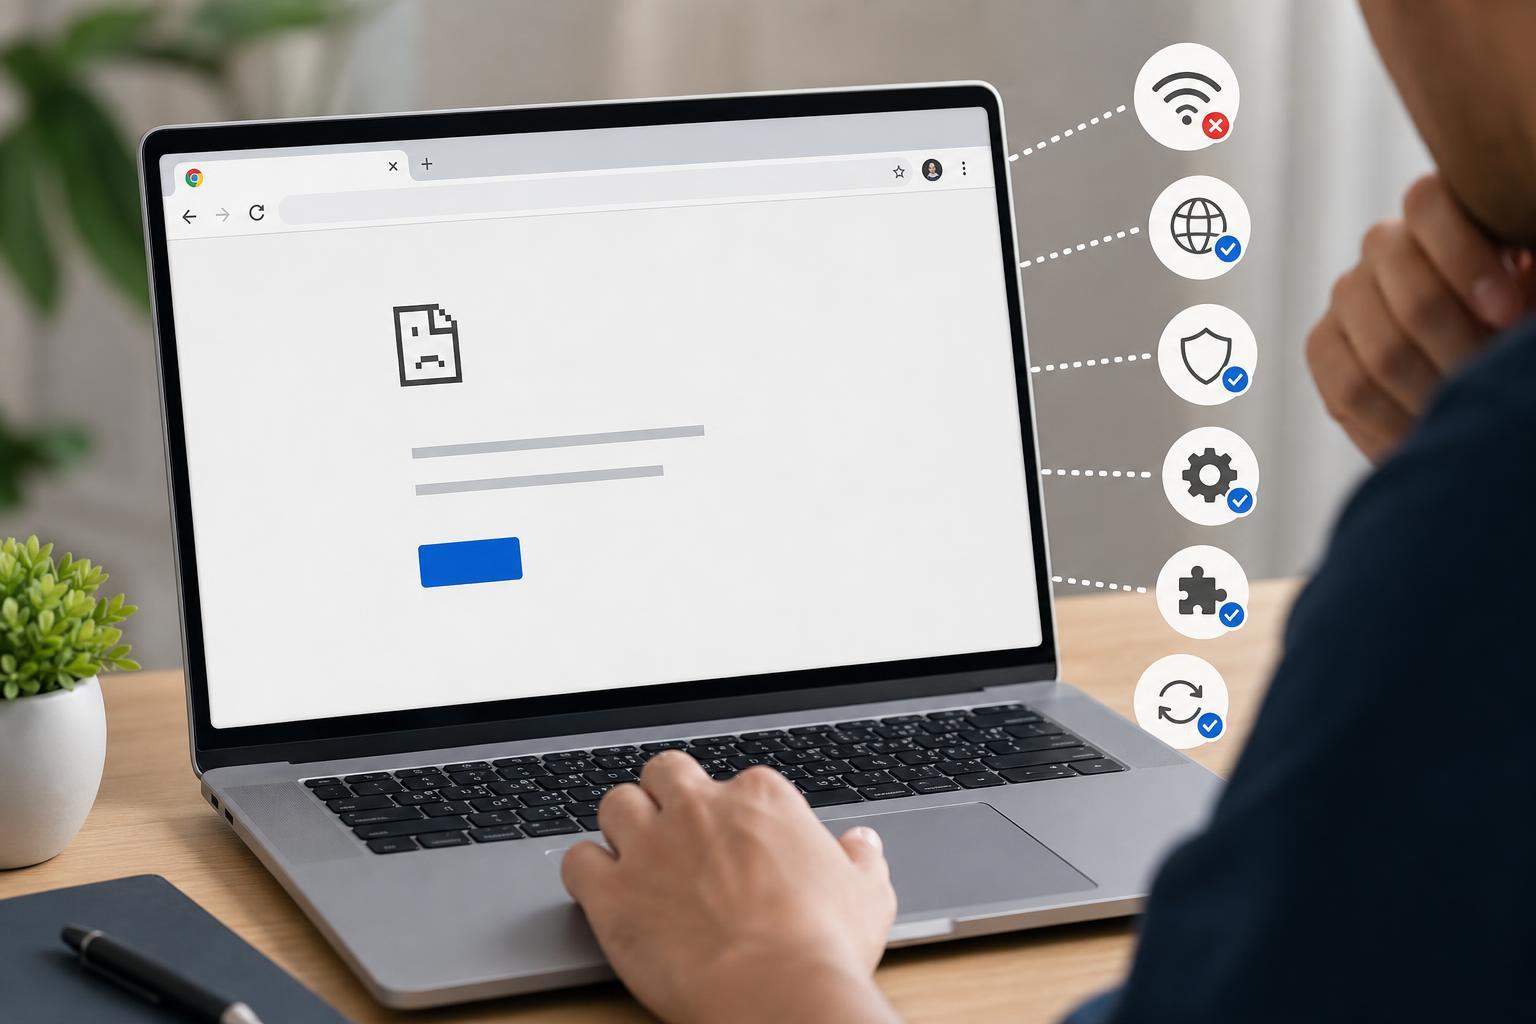
If your photos will not upload, the issue is often related to internet access, account selection, storage limits, or app permissions. A few checks can usually narrow it down quickly.
- Make sure you are signed into the correct Google account.
- Check that your phone has a working internet connection.
- Confirm that Google Drive has permission to access your photos and files.
- Verify that you still have enough space in your Google account.
- If the upload seems stuck, check whether the file is very large or whether multiple uploads are already in progress.
A Simple Workflow for Backing Up Android Photos
If you want a practical routine, use manual uploads for a few important photos and automatic backup for everything else. That gives you both control and convenience without having to upload each image one by one.
- Use Google Photos backup for your camera roll.
- Open Drive when you need to store important images in a specific folder.
- Use the Share menu when you want to upload a single image quickly from another app.